
Hey there, crafty friends! If you’re looking for some clay bead bracelet ideas, you’ve come to the right place. Clay beads are so fun and easy to make, and you can customize them to suit your style and mood. In this blog post, I’m going to share with you some awesome clay bead bracelet designs that you can try at home, using polymer clay or air-dry clay. Whether you’re a beginner or a pro, there’s something for everyone here. So grab your clay and let’s get started!
For Beginners:
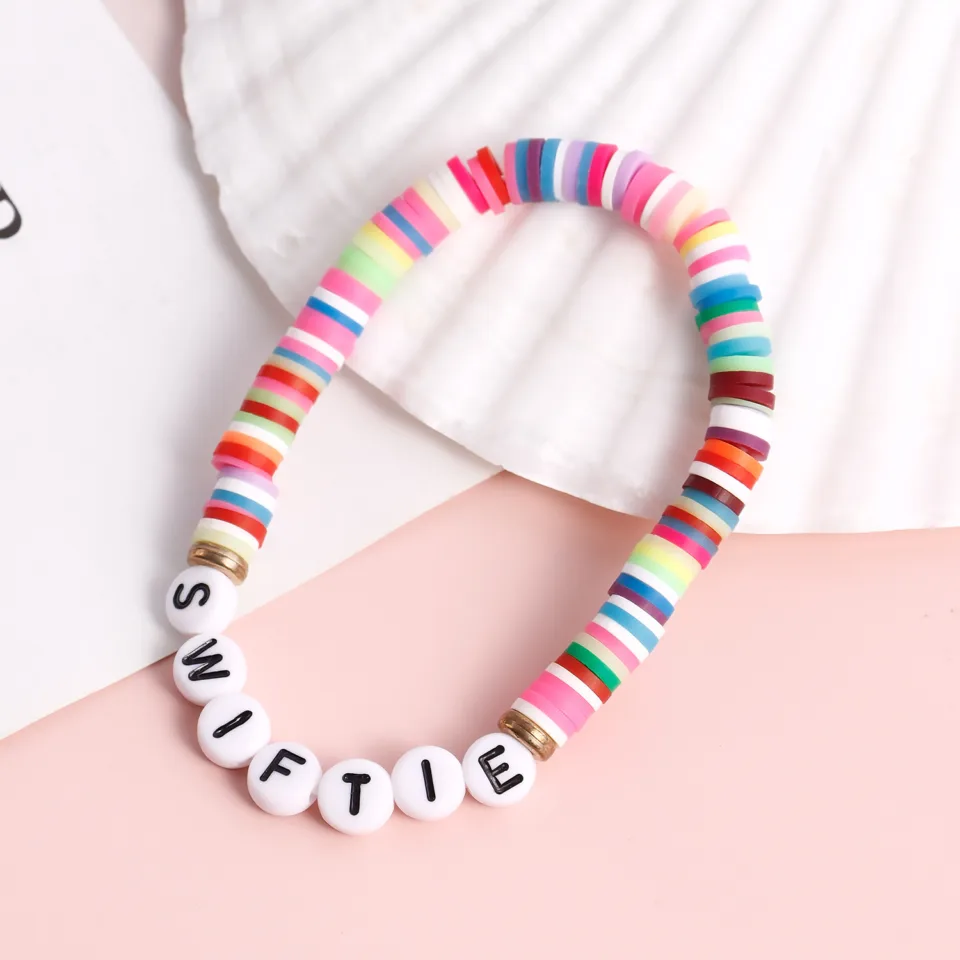
Simple & Sweet:
This is a great project for beginners who want to make some cute and colorful bracelets. All you need is some polymer clay in various colors, some elastic cord, and some optional charms or spacers. Here’s how to make it:
- Roll out some clay into small balls or create geometric shapes using cookie cutters.
- Poke holes in the beads with a toothpick or straw.
- String the beads onto the elastic cord in a pattern that you like.
- Tie a knot to secure the ends and add some charms or spacers if you want.
- Voila! You have a simple and sweet clay bead bracelet that you can wear or give as a gift.
Here’s an example of how it looks:
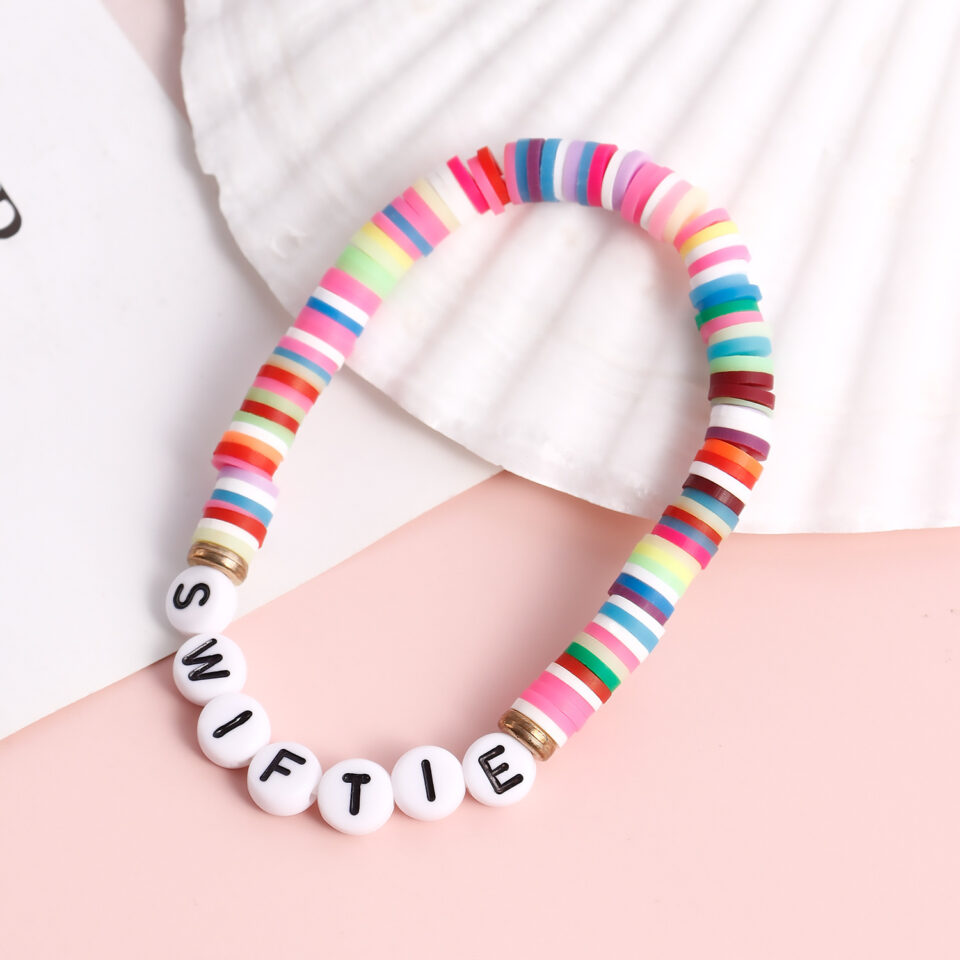
Simple and Sweet clay bead bracelet Get it here
Rainbow Delight:
If you love rainbows, this is the bracelet for you. It’s super easy to make and looks amazing. All you need is some polymer clay in rainbow colors and some elastic cord. Here’s how to make it:
- Cut thin slices of clay in different rainbow colors.
- Stack the slices and roll them into a log, creating a swirl effect.
- Slice the log into thin beads.
- Poke holes in the beads and string them onto the elastic cord.
- Tie a knot and enjoy your vibrant bracelet!
Here’s an example of how it looks:
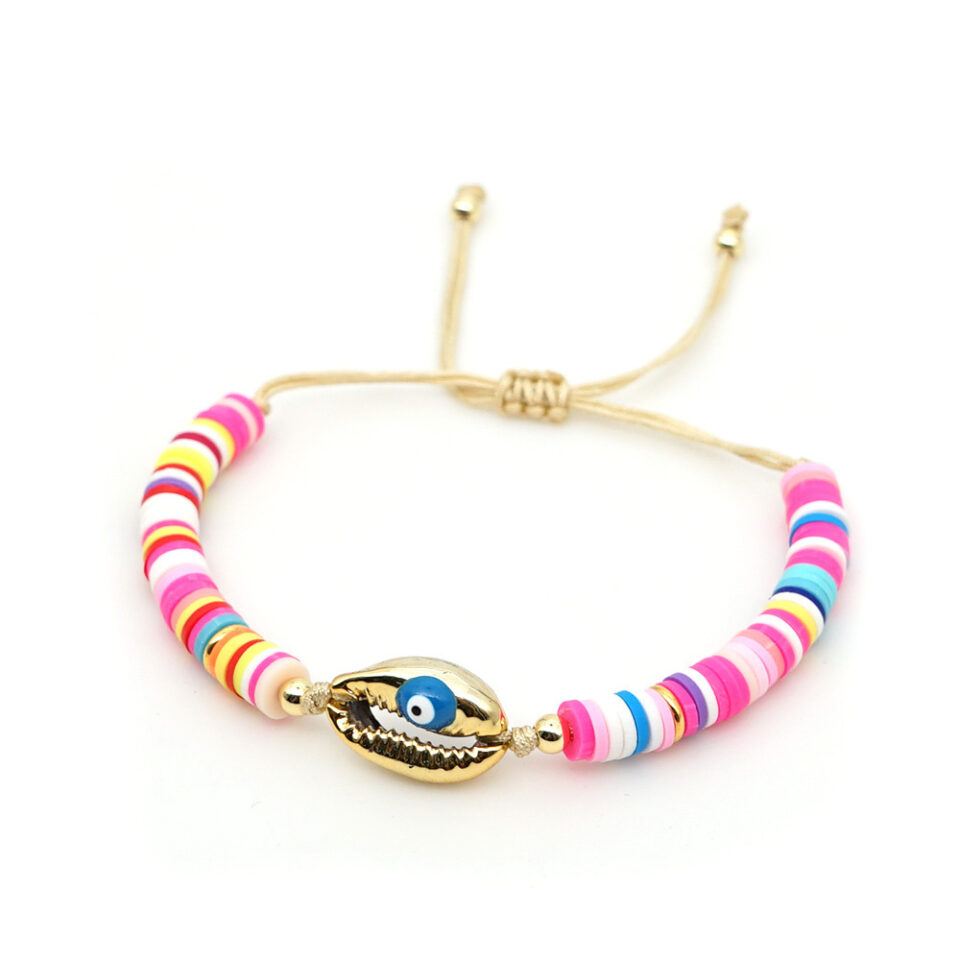
Rainbow Delight clay bead bracelet. Get it here
For Intermediate Crafters:
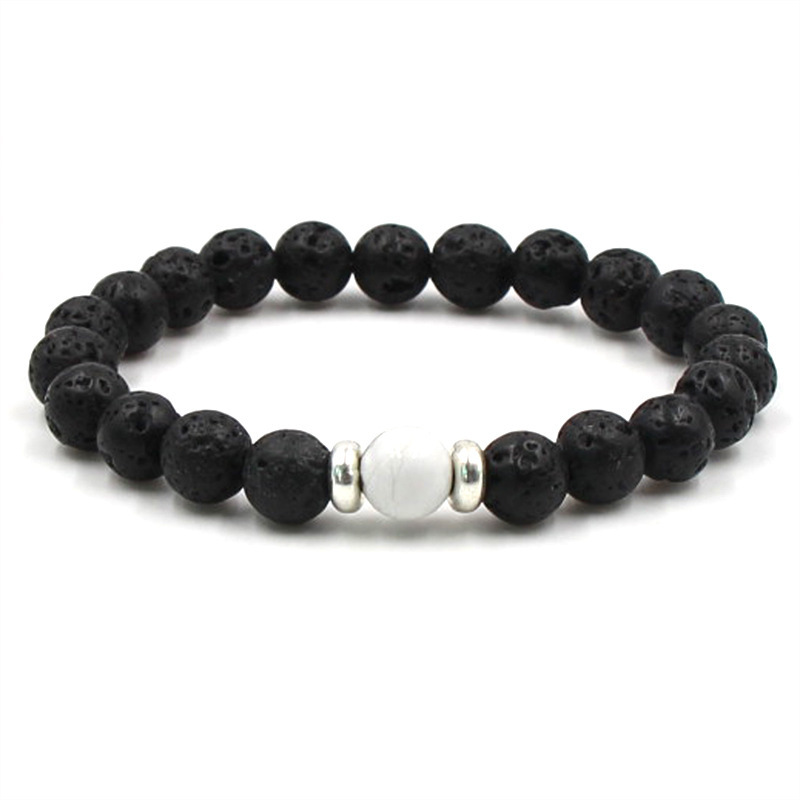
Textured Terracotta:
This is a more advanced project that requires some air-dry clay, some acrylic paint, some sandpaper, and some elastic cord. It’s perfect for creating a rustic and earthy look. Here’s how to make it:
- Mold the air-dry clay into shapes that you like or create textures using stamps or tools.
- Let the clay dry completely and sand it for a smooth finish.
- Paint the beads with acrylics in contrasting or complementary colors.
- String the beads onto the elastic cord and tie a knot.
- You have a textured terracotta clay bead bracelet that looks like pottery!
Here’s an example of how it looks:

Textured Terracotta clay bead bracelet. Get it here
Mosaic Mania:
This is another advanced project that requires some polymer clay in various colors, a rolling pin, a knife, and some elastic cord. It’s great for creating a unique and artistic look. Here’s how to make it:
- Roll out different colored clay sheets and cut them into tiny squares.
- Arrange the squares on a baking sheet to create a mosaic pattern.
- Bake the clay according to the package instructions.
- Cut out circles or other shapes from the baked mosaic sheet.
- Poke holes in the beads and string them onto the elastic cord.
- Tie a knot and admire your mosaic mania clay bead bracelet!
Here’s an example of how it looks:
Mosaic Mania clay bead bracelet. Get here
For Advanced Crafters:
Millefiori Magic:
Materials: Polymer clay in various colors, rolling pin, knife, pasta machine (optional), elastic cord.
Steps:
- Create canes (long logs of layered clay) with intricate millefiori patterns.
- Slice canes into thin beads, revealing the mesmerizing design.
- Poke holes and string onto elastic cord.
Check How it looks
Conclusion
I hope you enjoyed these clay bead bracelet ideas and found some inspiration for your next project. Clay beads are so versatile and fun to make, and you can mix and match them with other materials to create endless combinations. Have fun and happy crafting!
Related Links